Devices that contribute to base load / phantom load

Understanding Base Load Electricity in the Home

In the intricate world of home energy consumption, one concept that often gets overlooked but is of paramount importance is the "base load" electrical load. Essentially, the base load refers to the background level of electricity that is continuously consumed in a household, irrespective of peaks in usage during particular times or activities. This ongoing consumption is due to devices and appliances that are either always on or intermittently draw power, even when they seem to be off.

The significance of understanding our home's base load is multifaceted. Not only does it directly impact our energy bills and environmental footprint, but also, when optimized, can lead to energy savings and prolonged appliance longevity. As homeowners and environmentally-conscious individuals, pinpointing and managing this constant electrical draw is a step toward a greener household and a reduced energy bill.

In the sections that follow, we'll delve deep into the devices and systems that contribute to your home's base load. From the obvious culprits like refrigerators and water heaters to the less conspicuous ones like standby electronics and chargers, it's time to illuminate the silent energy consumers lurking in our homes.

Note: The specific devices and systems that make up the base load might vary based on the individual household and region, but the mentioned examples give a general idea.

Alright, considering the context of base load, here is a grouping for the devices:

1. Home Automation & Connectivity:

  • Smart bulbs

  • Smart devices (Alexa, Google Home, etc.)

  • Smart plugs

  • Smart sockets

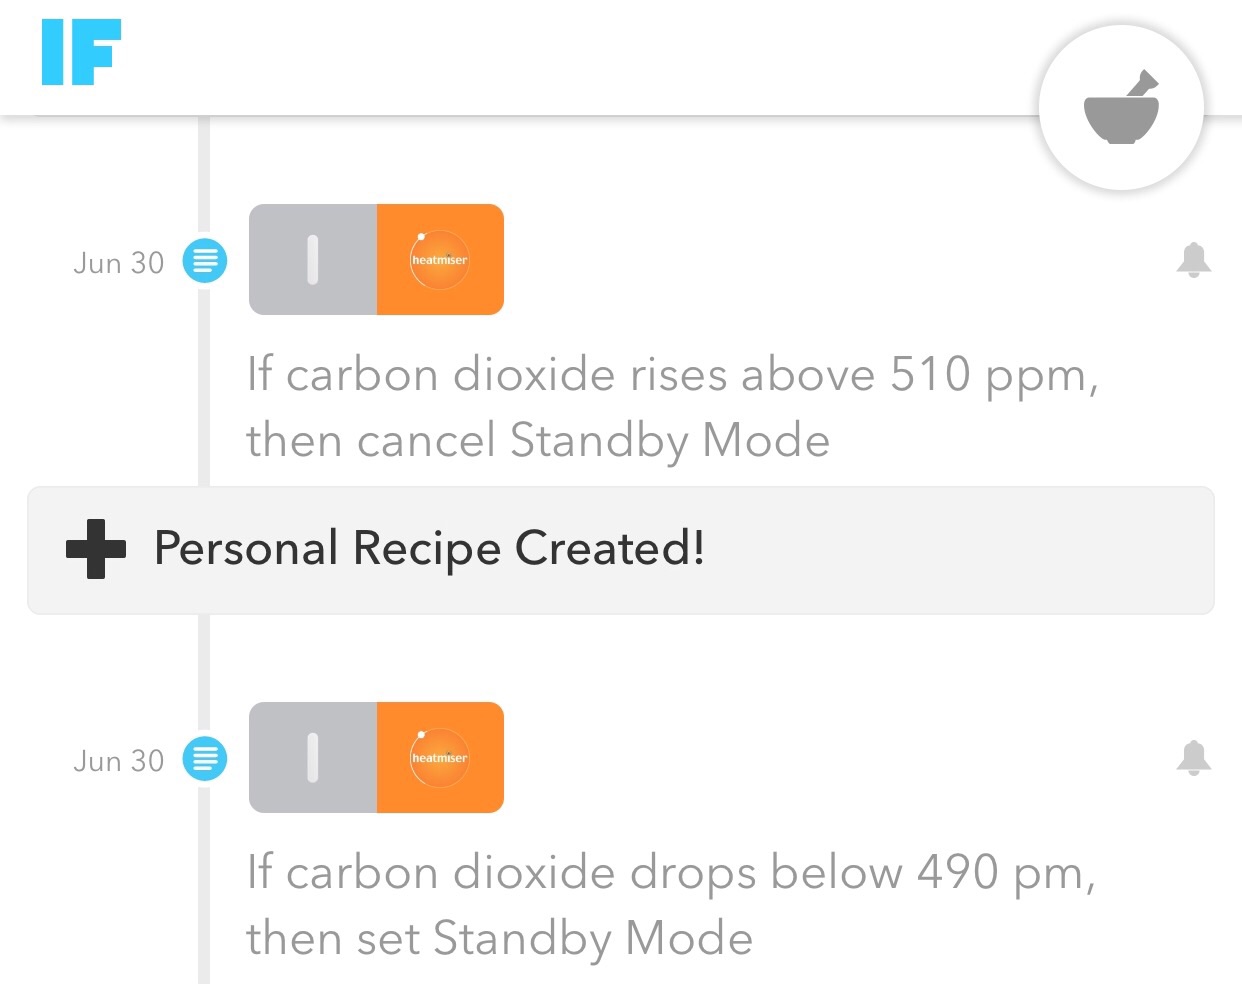
  • Digital wall thermostats

  • Heating control systems (especially with internet control)

  • Broadband hub; mesh network discs

  • Networking equipment (routers, switches, access points, mesh networks)

2. Standby Devices & Chargers:

  • Anything on "standby" (TVs, projectors, computers, etc.)

  • Anything with a clock on it (oven, microwave)

  • Kettle with lights and temp control

  • Anything on charge (phones, batteries)

  • Any chargers plugged in (even if not charging something)

  • Laptops

3. Home Security & Surveillance:

  • Baby monitors

  • CCTV systems

  • House alarms & other mains-wired security

  • Movement sensing bathroom mirrors

  • Movement sensing lightbulbs

  • Nightlights or other constantly-on lights.

4. Kitchen & Appliances:

  • Hobs with electronic control (e.g. induction hobs)

  • Fish tanks (lights and pump running)

  • Mains-powered smoke/carbon monoxide detectors

5. Vehicle Infrastructure:

  • EV wallbox

  • Electric/remote garage doors

6. Home Appliances:

  • Refrigerators and Freezers (often a significant contributor to base load, especially older models)

  • HVAC systems, especially those that are programmed or have consistent fan operations.

7. Entertainment Systems:

  • Gaming consoles (even when off, they might be in a power-saving mode).

  • Set-top boxes (like cable or satellite boxes, often consume power even in standby mode).

  • Bluetooth adapters/receivers, IR Receivers/Relay

8. Miscellaneous:

  • Water heaters, especially those maintaining a certain temperature.

  • Dehumidifiers or air purifiers.

  • Landline phone bases.

  • Any continuously running pumping device (e.g. sewage processing systems, garden pond)

Configure Ubiquiti Edge Router Lite with Preferential Load Balancing for different devices via dual link WAN

Snappy title, huh?

Introduction and Purpose

In this article I give the steps to configure an Edge Router Lite so that it can apply different load balancing rules to different devices on your home/local network. There might be a few use cases for this type of configuration, but here's mine:

I live in a rural area with slow ADSL broadband (around 2Mbps) and no imminent prospect of fibre. I am also a home worker, and that speed is practically unworkable. Thankfully in December 2016, Vodafone expanded 4G coverage, such that I can now receive it via an aerial on my house. So, at the time of writing, I have a 50Gb per month data plan on 4G, and can get speeds of around 40Mbps.  I need both links, because not only is their variability in the services, due to things like weather, but 50Gb is simply not enough. So, I need to split my traffic over the networks so that my work activity gets priority on the high speed link, and other stuff (such as music streaming) favour the slower - but uncapped - ADSL link. 

Using the edge router, this configuration does exactly that. The inspiration and configuration schema itself was provided at https://community.ubnt.com/t5/EdgeMAX/Dual-WAN-with-some-hosts-using-only-one-WAN/m-p/703493#M22093 but without instructions. As a novice to networking, my eyes glaze over at all that config and the prospect of recreating it at the command line. So I set out to configure it via the UI (and succeeded). This article shows the steps. 

Objectives

I have several media streaming devices in the house, e.g. SONOS, Amazon Echo Dot. The reality is, for playing music they do not need 4G speeds, and up until now have been unnecessarily consuming 4G data allowance on my existing load balancing set up. That set up is just one load balance group with a 75:25 split ADSL:4G, which in itself is not ideal because it favours the slow link, but is necessary to keep my 4G usage within the necessary limits.  The SONOS in particular is a culprit because it is in my child's room and plays a playlist of about 3 hours' duration each night: it really doesn't need to use 4G at all (except perhaps for fail over) - so the plan is to "pin" that device to the ADSL link.

The same goes for the Amazon Echo Dot in my office, and the Echo Dot in our living area, which is hooked up to a soundbar. 

The plan with the configuration is to have these 3 devices belong to their own load balance group, and balance that group so that it is almost 100% supplied by the ADSL link. In actual fact I am going to start off with 90-something percent, so that when the ADSL link is being heavily used (child watching iplayer for example), there is some availability of additional bandwidth from the 4G side.  Failover will be left in place so that there are no interruptions in the event of ADSL failure (or me tripping over the hub). 

Remaining devices, for now, will all belong to a different load balance group which is more equitable, allowing them a greater share of the 4G. I need to run the system for a while to establish the right level within my data cap, and indeed plan to introduce a further load balance group which tips the balance the other way; thus allowing, for example, my work PC to have a 90:10 balance 4G:ADSL. For the purposes of this article, however, all these remaining devices will stay in the default load balance group, which was created using the Edge Router wizard. 

Part 1 - Static IP's

This whole set up relies on creating a group of devices you can assign to a load balance rule, and applying that rule to the firewall prior to the default rule. In order to create the group of devices, they need to have static IP's rather than the default dynamic. That way they can always be identified.  Knowing that I plan to expand the number of devices that I might do this with, I decided to reserve a larger-than-default range of IP's for this exercise, and future use.

So, i reduced the existing dynamic IP range to stop at 192.168.2.230 on the basis I would reserve 192.168.2.231 - 239 for my "ADSL-pinned" devices. This can be done in the DHCP Server menu.

next step is to create the static mappings for the SONOS and Amazon Echo devices. One way to do this is from the DHCP Server -> Static MAC/IP mapping tab. 

I have set my SONOS to the first address in my "reserved" static range: xxx.231

There's also another (quicker/easier) way to create these mappings: from the Leases screen. Just find your device in the list.

Note that I didn't change the name of anything, just the IP address to something in my static range. Note too, that the existing IP leases hold good even after this change, so the devices do not take on their new IP until you reboot them, which we can do at the end. 

So, I mapped my Office Echo dot to static IP 192.168.2.232 and Kitchen dot to xxx.233

The above steps complete part 1, which accomplishes this configuration step of the original solution:

Part 2 - Firewall Group

Now we need an "Address Group" with those static addresses, as per the original solution:

This can be done from the Firewall/NAT controls - I created a group called A nice

A nice feature is the ability to add a range of IP's, not just individual devices (choose "Actions -> Config"). I chose to add the whole of my 192.168.2.23x range so that any device mapped into that static range in future will automatically adopt the ADSL load-balancing scheme. 

Part 3 - Load Balancing rules

The original solution requires creation of an additional load balance rule:

So, to begin with, I am going to create a load balancing group, using a 90/10 rule, called LB-ASDL-primary. This can be done from the Config Tree pane. (Navigate to the branch shown in the bold breadcrumb trail, and choose ADD)

Since I am running on fairly default configuration, this new group just needs to mimic the existing master group (G), so that means adding the right interfaces (eth0 and eth1 in my case)

Once done, we need to work down the configuration for LB-ADSL-primary, replicating what we see in "G".

Again, if like me you are running on default config, in reality most settings can be left alone, and it's just the weight that needs amending. Once, that's done, click "PREVIEW" - which is essentially a "check and save" function - at the bottom of the screen.

With this configuration, my SONOS/Echo devices are still going to use 10% of the 4G link. It will be trivial at a later date to make it 100% ADSL and 0% 4G, and set the 4G as failover-only, if desired.  That's this step done. 

Part 4 - Amend Firewall "Modify" group

Referring back to the original solution - we need to change the firewall "modify" rule to add a new "modify" rule, which will reference our new load balance group. Thus our new group of devices will get their special load-balance treatment before the remaining devices get the default treatment. 

Note that in the new rule we have to reference our new load balance group and then also the devices (address group) that are the source. As a reminder:

  • Our Firewall/Address group is called ADSL_link_devices
  • Our Load balance rule is called: LB-ADSL-primary

In the config tree (see below), the existing config built by the wizard looks like this, with rule 100 set as the load balancing rule, and the default load balancing group called "G".

We will add a new rule and reference to the group. It will be before rule 100, and use our new load balance group, and assign our new address group (i.e. target devices) to it. 

Add a rule 90, then change the "source" to reference the new address group. 

Now we need to define the actual rule. It's a "modify" rule, so navigate to the modify branch under rule 90, then reference our new load balance group in the lb-group slot. 

And Save ("Preview")

That's this step done.

Finally - Apply to Interface

A firewall rule is nothing unless it is actually applied to an interface, as per the original solution:

As you might have suspected, following this method you don't have to perform this step, because we have modified the existing rules "live" (called "balance" by default) and all our changes are already in place on the interface they originally applied to (eth2 in my case).  (shown below for completeness)

Testing

Before we change anything else or try our devices, check what is currently happening: our new group has no traffic (as we expect)

20 test 1 before.png

Now we play something on the SONOS / Amazon Echo, to see which WAN link the media comes down. Since the IP addresses of the devices have not yet changed, nothing new happens, and (happily for this test) the data comes over the 4G link (eth1): exactly what I am trying to prevent.

And another check from the command line (i did sneakily change the weightings to 91/9 in the meantime, for those with a beady eye). 

Now we reboot the devices so that they acquire their new static IP's. (Seems you can't ask Alexa just to reboot, which is a shame :) ). We can confirm that the devices (e.g. Echo) have picked up their new IP in the .23x range, which they have:

So,let's play some music again and re-examine the interfaces. Look at all that lovely red = eth0 = ADSL...  just what I wanted.


And finally, confirm the stats from the command line, we see LB-ADSL-primary load balance group is now pulling data in the right proportions:

Very happy. Case closed!

Controlling room temperature with Netatmo "occupancy detection" and IFTTT

Thanks to the addition of Heatmiser range to the online automation service IF (formerly IFTTT - "if this then that") it's now possible to control room temperature using inputs from your other IFTTT-friendly IOT devices. In my case, Netatmo weather station. 

In my house, heating for every room is individually controlled by a Heatmiser Neo thermostat, each running an individualised programme of temperature gradients throughout the day, tailored to each room. During the summer most of these are just on standby, meaning in practice unless the room drops below 12 degrees C, the heating will never come on.  

My child's room is the exception, because we don't want him to ever get too cold, and some days he naps in the afternoon; so his thermostat is always active. So far so good. Except when you open the windows, perhaps for fresh air during the day, and it turns cloudy, the temperature drops and the heating comes on and heats the great outdoors. 

Finally, I have a solution which does not involve adding sensors to the Windows.  

The first step is to use Netatmo indoor station as an occupancy detector. Over the last year I've charted the correlation between occupancy and CO2 levels and in general found that an occupied room tends to read >500ppm CO2 and unoccupied room is below that. Of course if you open the window the CO2 level drops to almost zero very rapidly. So, this basic threshold measure can be used as a simple detection of empty room and/or wIndows open.  

IFTTT recipes to control Heatmiser thermostats based on occupancy (CO2) 

IFTTT recipes to control Heatmiser thermostats based on occupancy (CO2) 


Of course, you might ask what happens if the windows are open while the room is occupied. Good question - but in our case it never happens; our child is young, so for safety when he is using the room we always have the widows locked shut. 

This simple trigger forms the basis of the input to an IFTTT recipe which controls the Heatmiser thermostat in the same room. If the CO2 levels drop (room empty or Windows open) then the thermostat is set to 'standby' (this stops it following its daily program) and if CO2 rises again ( = occupied) the standby mode is deactivated and the normal program continues to run. 

This way we hope to avoid those costly mistakes where we have opened the windows and forgotten to adjust the thermostat; or unnecessarily heated an unoccupied room.  

For the future we can explore whether outdoor temperature, wind speed and rainfall can be used to optimise performance of the indoor heating.   

How I multiplied my Flickr traffic 20x times

It's no secret any longer that Adobe Lightroom has transformed my photographic workflow and I love the power it puts at my finger tips. It seems each week I'm discovering a new way to put it to use and take my photography to better levels, using automation to reduce the need to perform hours of mundane tasks. 

The latest trick has been to implement publishing to Flickr - but not only that to deliver upto 20x the traffic views for my photos that had been the norm before I started using Lightroom. 

Here's an image of some stats at the time of writing:

At the start of this graph (start of Jan) I did a little manual test to see what effect was caused, and this explains the rise to about 35 image views per day. However, after this you can see the natural tail as traffic drops back down to its organic level of about 4 or 5 views per day. 

The I implemented my lightroom meets flickr strategy and the traffic rose sharply. The peak on this chart is 100 views, representing about 20 times the traffic of my previous normal levels. That's one heck of a turn around. 

So, what's the secret? Well, there are two:

1) replace the standard Lightroom Flickr "publish" plugin with a much cleverer version written by Jeffrey Friedl. His plugins are awesome and by far the most full-featureed and flexible I've found. 

2) Use the plugin to submit your images to relevant photo groups on flickr. This is something you can configure the plugin to do automatically for you when you upload an image. By posting to interested and relevant groups your images will be exposed to a wider audience and generate more traffic. 

However, there are, of course, a couple of cautionary notes. The main one is that different groups have different rules and you have to adhere to them. This might include, for example, a limit of one picture upload per day. Lightroom won't count this for you - you need to just tracj this yourself. 

Also, you need to be relevant to the group - so if you are posting to a group which accepts sunsets, but with no people and with the sun below the horizon then you need to be sure that your automation is able to control this - i.e. that your metadata is sufficiently rich and granular. There's always going to be a fine line over how much is enough and how much is too much metadata: so pick your groups with this in mind. 

After setting all that up, publishing to Flickr is just a one click process, and hopefully you can see the results I have, or better! ☺